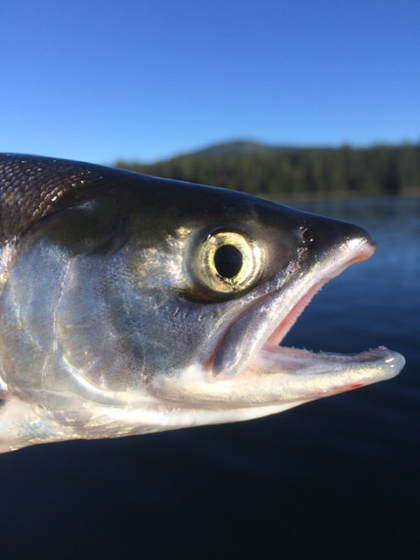
 I get a lot of questions on the boat asking how I can my Kokanee fillets, so I thought I would put together a little “how to” or more appropriately “how I do it” article. Before I get into to it let me start by saying canning and preserving food of any type can be a rewarding way to make use of abundance, and allow you to enjoy your harvest throughout the year. That said you need to be very aware of canning and preserving procedures and techniques which will ensure your products are done in a safe manner. I encourage you to use this article only as a guideline and if you are new to canning/preserving foods at home please seek out additional information to ensure you will be preserving your foods in an appropriate and safe manner. 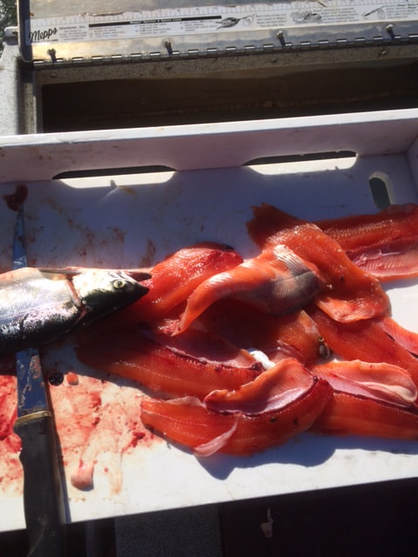 You know this has to start out on the boat, we need to catch the Kokanee to get this process started. Kokanee can be found locally in a number of Sierra lakes. The fish for this article were taken at Bucks Lake, which has a fantastic Kokanee population. I prefer to get the dirty work out of the way on the boat, by breaking the fish down into skinless fillets, pack the fillets in a zip lock bag and keep them on ice for the ride home. No need to worry about the rib bones or the fine Y bones, they will completely dissolve in the pressure canning process. 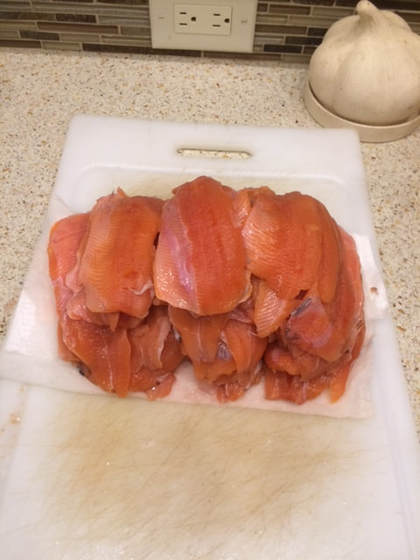 Back in the kitchen we have a stack of cleaned and rinsed Kokanee fillets. I like to dry them with paper towels following the rinse. 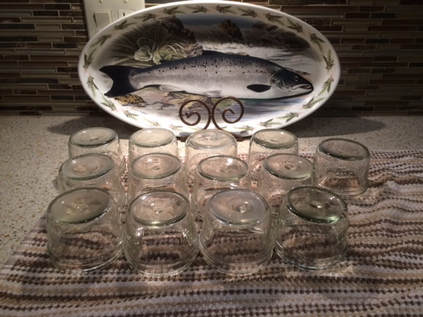 When it comes to the jars I like to use the half pint wide mouth size. I have done full pint size jars in the past, but in many cases when using the fish later, it seemed to be more fish than I needed. With the half pints, if you need more just open another. Here are some jars out of the dishwasher and ready to be packed. 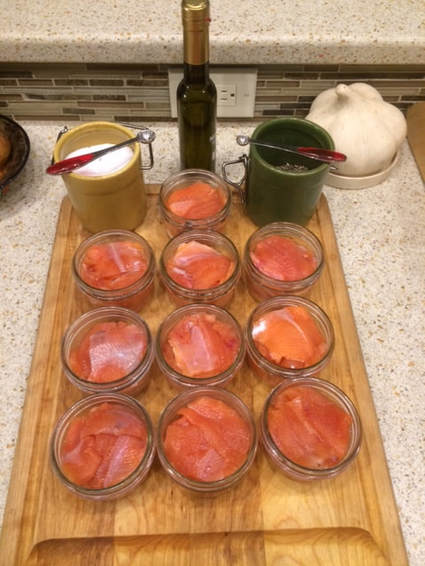 The fillets are cut and packed tightly into the jars leaving 3/4 inch of head space at the top. Then I like to add 1/8 tsp. of black pepper and 1/4 tsp. of sea salt along with a dash of olive oil. There are many popular “additives” when it comes to canning fish including herbs, peppers, and various condiments, I like to keep it simple with the salt and pepper and figure I can add stuff after opening the jar if I want to. 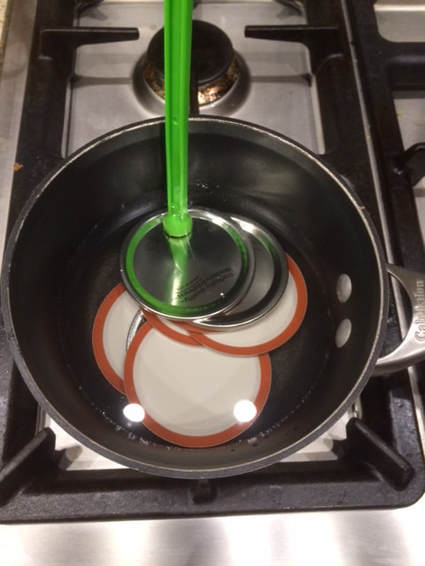 The jar lids are kept in hot water to soften the sealing compound and promote a better seal to the jar. The green tool in the picture is magnetic and keeps you from having to burn your fingers. Before the lids are placed on the jars, each jar’s rim is wiped down with a paper towel moistened with hot water. This removes any particles that might prevent getting a good seal. 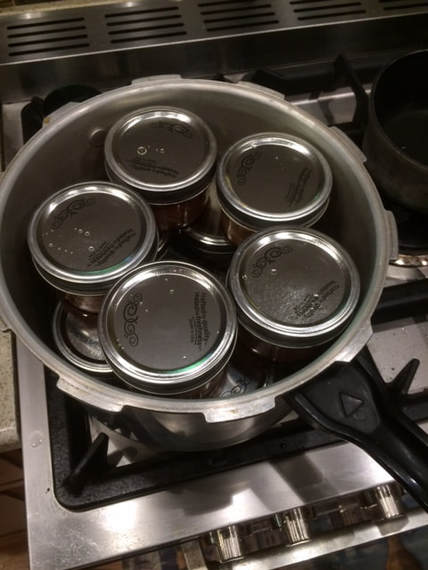 Ok here we go, lids on, bands on (just snug not tight) and into the pressure caner along with 8 cups of water. My pressure caner is not the biggest one out there, but will hold 10 of the half pint wide mouth jars in two layers. Please follow all safety instructions and directions with your particular pressure caner. 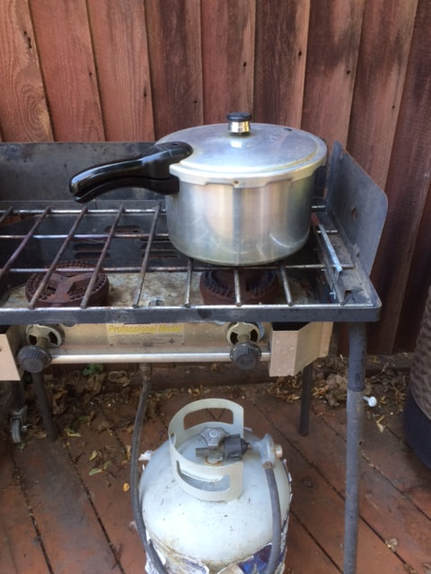 This is where the party moves to the outside burner. This is summer time, so no need for extra heat in the kitchen, or the aroma of fish being canned. The lid is on the caner and sealed with the weight placed on top to allow pressure to build inside. Here is where many variations in this formula may be encountered. I’m at 3500 feet of elevation, and at this elevation the time and pressure tables that came with my pressure caner call for 100 minuets at 15 pounds of pressure. Times and pressures will vary greatly depending on your pressure caner, elevation, and the size of jars you are using. Follow your directions to the letter and be safe. 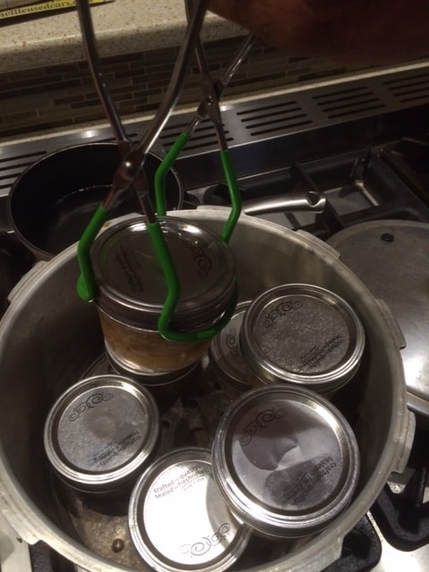 After the 100 minuets is up, and the pressure has dropped inside the caner, the lid can be opened and the jars removed to a board to cool. You will diffidently want the proper tool for this job, the jars will be ripping hot and the last thing you want to do is drop one. 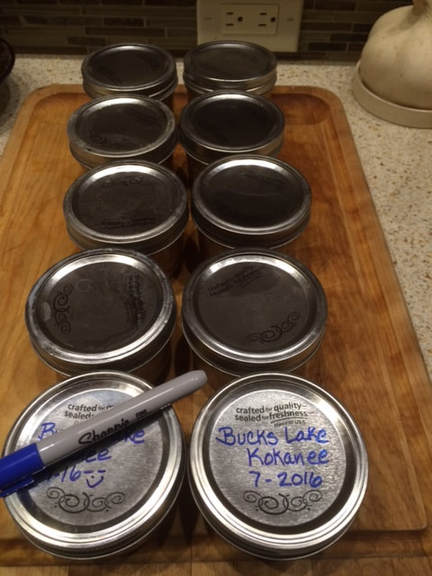 While they are cooling you will almost immediately begin to hear a series of clicks which is the tell tale sign of your jars having a good seal. To test the seal on each jar, after they have cooled, the center of the lid should be sucked down. If you press in the center of the lid and there is no give you are generally good to go. If the center of the lid is up and easily presses down you do not have a good seal and this jar should not be stored with the rest. If you get one with a bad seal all is not lost, immediately refrigerate the unsealed jar or jars and use the fish as if it was fresh cooked. Now it is time to label them up and store them away for the future. This home canned Kokanee makes an excellent sando with the addition of some diced red onion, diced celery, and some mayo. You might like using it in a variety of dips while adding thinks like cream cheese and green onions, or just add it to a salad. Pack a few jars up in a gift bag or basket, or just tie a ribbon around one and you have a gift that any fish enthusiast will love. There are tons of possibilities but what I like most is the opportunity to enjoy summer caught Kokanee all year round. About the author: Capt. Bryan Roccucci is a full time professional fishing guide and operator of Big Daddy’s Guide Service. Bryan specializes in year round trophy trout and Kokanee fishing while emphasizing light tackle fishing techniques on Lake Almanor (Year Round), Lake Davis (May), Bucks Lake (May – Sept.), Lake Tahoe (June – Sept.) and Eagle Lake (Sept. – Dec.) To book trips on any of the other waters fished by Bryan or for more information please visit www.bigdaddyfishing.com or call (530) 370-1001. Copyright © 2016 Bryan Roccucci All Rights Reserved
9 Comments
The new web site is now up and running. It has a more modern, cleaner platform that I think is along way from where it was. Look for some additional content to be added in the near future. Thanks and Tight Lines
|
The AuthorCapt. Bryan Roccucci Available Now In Our On-Line StoreGive the gift of fishing with a BDGS "Fish Certificate"Archives
April 2024
Categories |
Big Daddy's Guide Service
3000 Almanor Drive West / Canyon Dam CA 95923
Mailing PO Box 557 / Quincy CA 95971
(530) 370-1001
3000 Almanor Drive West / Canyon Dam CA 95923
Mailing PO Box 557 / Quincy CA 95971
(530) 370-1001
Follow Us

Copyright © 2024 by Big Daddy's Guide Service All Rights Reserved. The content found on this web site BigDaddyFishing.com, is copyright protected and is published on-line by the Owner/ Author Bryan Roccucci and may not be copied or displayed in any other format without express written permission. Any use of this site's content, pictures and reports without permission is strictly prohibited and illegal.



 RSS Feed


